


Chemistry in Action
Student Objectives
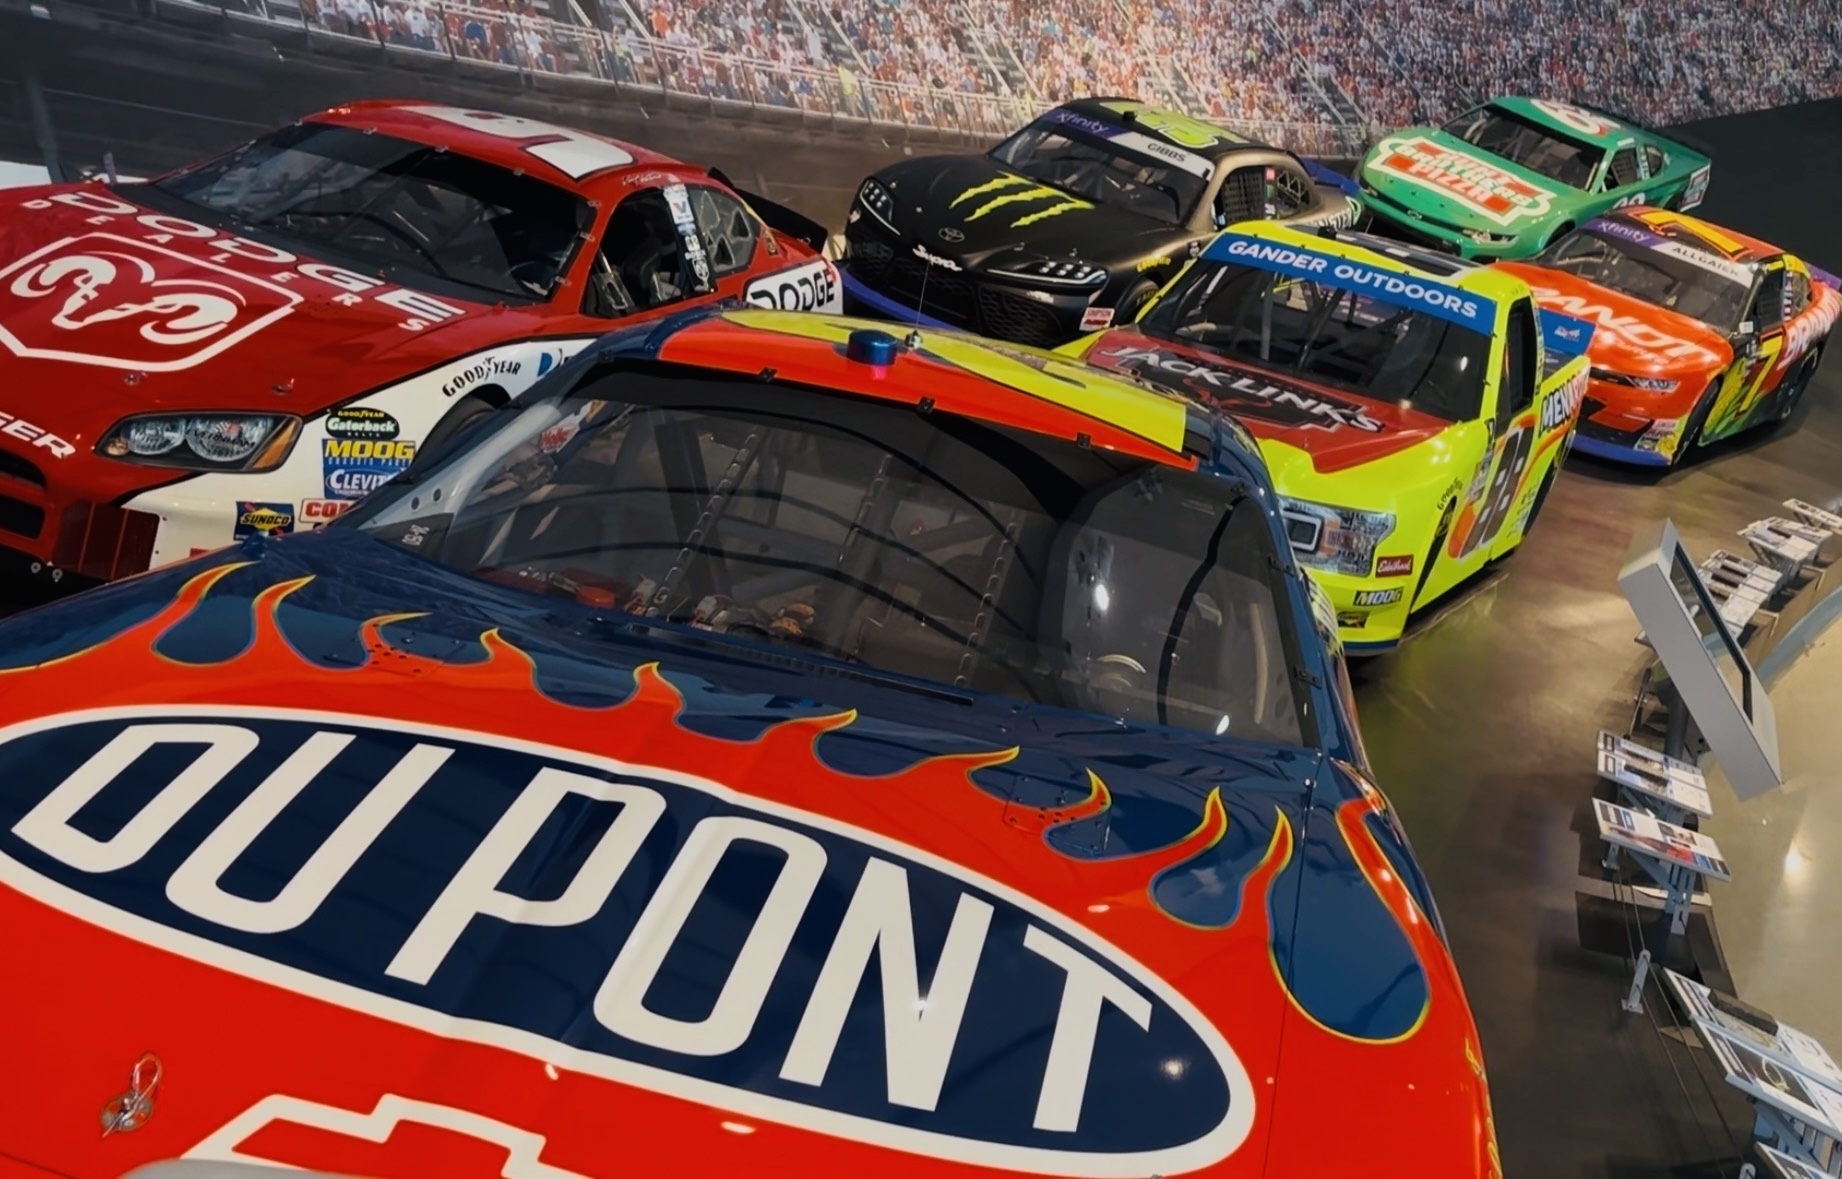
Chemistry in Action
- Review elements and alloys and application with a race car
- Review acid and base as well as reaction properties
- Understand how car chemistry impacts racing performance, especially in the engine
- Simulate engine performance by building a car using household supplies that can move on its own
Download a PDF version of this lesson
Materials
1. Reaction worksheet (download here)
2. Plastic cardboard (like election sign) or very sturdy cardboard (from a box)
3. Bottle (20 oz or larger)
4. Bottle cap
5. Drill with bits or hammer with 6-penny nail
6. Measuring spoons or teaspoon
7. Measuring cup or paper cup
8. Baking soda
9. Vinegar
10. Lemon juice
11. Lime juice
12. Measuring tape
13. Duct tape
14. Wheels (such as old CDs, DVDs, bottle caps, cat food cans, etc.)
15. Large straws
16. Wooden dowel, bamboo skewers or sticks
17. Towel
Review of Chemistry Concepts
Key concepts highlighted in this lesson connected to the sport of NASCAR include:
1. Periodic elements and elemental structural
2. Alloys and compounds
3. Acids and bases
4. Thermal dynamics
Think about how chemistry and race cars are connected.
Utilizing the Elements and Alloy worksheet, review key concepts as it applies to racing and race cars. Explore three different areas of a race car and how chemistry plays a significant role.
1. Chassis and frame (the structure of the car)
2. Car body and paint scheme (skin of the car and its role in safety/aerodynamics)
3. Tires and supporting parts (brakes)
The role of a chemist is to develop and test chemistry to achieve specific outcomes or to find solutions. Chemists work in many different fields, from food science (new flavors and tastes for consumers) to medicine (development of new medicine) and car manufacturing (creating strong alloys or testing performance of parts.)
Racing is no different; a car is a rolling chemistry experiment. Every part has been created, tested and tested again to ensure it will function as designed. The metals or compounds used also contribute to the engineering function of the car. Race car needs to be light, fast and, most importantly, safe. These may contradict how to build the best car. To this end, NASCAR Research and Development works with manufacturers to ensure quality of resources for building the cars. Goodyear Tire and Rubber Company manufactures each tire for a purpose and use but must account for factors not within its control – conditions of a track surface or its composition. Car bodies and paint schemes are built with carbon fiber, fiberglass and other materials that need to be strong but lightweight as to not slow down the car. Each part is manufactured based on the need and function, but the chemist is the individual translating the engineering need into the manufactured products that can be used.
1. What role does chemistry play in auto racing?
2. Name three ways chemistry impacts racing.
3. How does the activity of welding medal to create a body, frame and chassis interact with chemistry?
4. What challenges or considerations may an engineer have to make regarding how a race car performs?
5. What role does chemistry play in track surfaces?
6. What about racing tires? What makes racing tire chemistry different from the average production car (or a traditional car)?
Useful Online Resources
Chemistry in our everyday life: thoughtco.com
Periodic Table: chemnetbase.com
Alloy and Compounds:
Goodyear Tire Development:
Car Chemistry: In the Engine
Just like a personal car, the engine is the powerhouse of work. The engine contains many different forms of energy that work together to transfer energy to the rear axle and propel the car forward.
The two reactants (fuel and air) which we add to the engine can impact how the engine will perform and the speed and velocity of the race car. Engineers and car chiefs (the people responsible for building the race car) collaborate to make the best car possible to win a race. NASCAR mandates and controls the fuel (what its chemical composition is), but the teams determine other factors such as how much air is added working with their engine companies.
Air chemistry can change, based on where in the country a race is happening, what time of day the race is occurring and even what the predicted weather conditions are. Think about what the air feels like in winter versus in the summer. It may be more dense in summer with more water vapor versus in the winter where it can be drier. If you live in a desert area, the air may be drier than if you lived by the ocean. The chemistry of the air will impact how the reaction will occur and the effectiveness of the energy to keep the car moving at top speed.
The stimulus that causes the two reactants (air and fuel) to ignite is a spark plug. The spark plug gives off an electric pulse which ignites the air and fuel causing the chemical reaction of combustion to occur. Once this happens, the reaction sets the other parts of the car’s engine into motion and converts the chemical energy to many other types of energy.
The primary goal is to take the energy and direct as much of it as possible to the rear end or axles of the car through the drivetrain. It is the rear axles of the car that move the car forward.
Car chiefs, crew chief and the engineers need to ensure the engine - the heart of the car - is performing at its best. They calculate through tests and data reviews what the best ratios of reactants will ensure the car moves. Before the race can start, engines are tuned or adjusted for peak performance.
A driver needs to understand how an engine sounds and relay information about the engine's performance to the team so they understand if they are getting the maximum results. Engines can fail if they do not perform correctly - and then the team is out of the race. On race day, you have one car, one engine and one shot to win – no do overs.
Let's Experiment: Your Turn
Objective: Build a car that will move on its own through a chemical reaction
Goal: Get the car to travel the furthest distance by the fifth trial
Variables: Change the amount of liquid and/or solids (baking soda) that you use (remember to record your changes in order to make an informed decision)
For Fun: Have a family member or sibling record your car in motion (then share the videos with us!)
Engineer/Build Your Car:
1. Use the plastic board or heavy cardboard as your base or chassis of your car.
2. Tape the straws or plastic tubes (such as a pen) on to the base. That will serve as the bushing or device that will hold your axle.
3. Use the wooden sticks or bamboo skewers as your axels. Your makeshift wheels attach to the axel; the axel turns the wheels; wheels are bolted on to a car and do not turn by themselves. Be sure your axel spins your tires. The base of the car should not be able to roll.
4. Add your engine. Tightly secure the bottle (with no holes in bottle) to the top of the board.
5. Drill or add a hole to the cap. Size of the hole might be a factor to think about for your experiment (larger hole vs. smaller hole.)
6. Your car is complete.
Experiment:
1. Ensure you have your data sheet or notebook ready to record your information from each of the trials.
2. Determine how much of only one of the three liquids (vinegar, lemon or lime juice) you will use. (Hint: You'll need at least 5 oz to start.) Record your measured amount.
3. Add the liquid to the bottle.
4. Measure the amount of baking soda with a teaspoon or tablespoon. Place this in a flexible cup such as a small paper cup from your bathroom or in a napkin. Record the amount of baking soda you selected. (Hint: Start with a teaspoon.)
5. Go outside. You need to complete the remainder of the experiment trial outside.
6. Read the rest of the instruction fully before completing.
7. Tip the car/bottle at an angle of about 45 degrees. Do not hold it straight up and down - vertically.
8. Remove the cap.
9. With the bottle at an angle, add the baking soda slowing. Try not to have the liquid and baking soda touch.
10. Re-cap the bottle.
11. Kneel or squat down to be close to the ground so you are prepared to release the car. Remember to stand to one side of the bottle and not behind where the cap with hole is.
12. Place your thumb over the hole in the cap and shake the bottle.
13. Feel the pressure build. Place the car on the ground with all four wheels down and release your thumb. The car should move forward.
14. Measure the distance traveled and record the data.
15. Dump out the liquid and rinse with water.
16. Repeat and change a variable such as the amount of liquid, amount of baking soda or type of liquid used. (HINT: Out of the three acids (liquids), the one you use in grade school may not be the best reactant for distance.)
Results:
1. What were the reactants in this experiment?
2. What caused the two reactants to react?
3. What do you think the product created was?
4. Which combination worked the best?
Questions? Contact the NASCAR Hall of Fame education team at education@nascarhall.com.