


Fast, Furious
and Friction
Student Objectives
Fast, Furious and Friction
- Understand what friction is
- Identify where friction occurs on/in a race car and at the race track
- Identify how friction affects the car
- Understand how the surface of a track affects the movement of a race car
- Understand the impact and effect of banking on a race car
- Use tools to measure banking and distance
You hear the call from the broadcaster: “Car number 42 is loose, and the back end of the car is sliding!” But have you ever thought about why or how? The answer is friction, a force vital both to racing and us in our everyday life. Explore what friction is, how it works and how it impacts a race car. Using gravity, experiment with different types of simulated surfaces to test how a car performs.
Materials
1. Worksheet/data collection sheet (download PDF)
2. Pencil
3. Any size toy car or truck (i.e. matchbox, wooden car, baby toy car, die-cast, etc.)
- If you don’t have a race car, you can use a soup can, water bottle or any cylinder that can roll.
4. Weighted object that can attach to the car (i.e. balloon weight, small tool, rock, etc.)
5. Masking or invisible tape
6. Tape measure/ruler/yardstick
7. Stopwatch
8. Tool to measure angles (i.e. smartphone app such as bubble level, protractor or carpenter’s triangle)
9. Scale (see lesson for modified suggestions)
The following are suggested materials for ramps and surfaces. This is a great opportunity to let the child be creative and explore for potential options.
Ramp Tower (need object that can have various levels)
1. Pile of books
2. Chairs or stools (with rungs)
3. Blocks (like Jenga)
4. Pile of DVDs
5. Box(es)
6. Plastic bin(s)
7. Bookcases
Ramp Base (flat surface to attach track surfaces to)
1. Cookie/baking sheet
2. Sturdy piece of cardboard (shipping boxes)
3. LEGOs or similar building blocks base (smooth side: can connect several together)
4. Board game (just the board portion)
5. Open three-ring binder
6. Smooth piece of wood (cutting board, etc.)
7. Removable bookcase shelf
Track Surfaces (add different materials to ramp base and/or test surfaces)
Inside Suggested Materials
1. Tin foil (smooth and crumpled)
2. Wax paper
3. Building block bases (such as LEGO or other similar building sets) (bumpy side – can combine several together, can be made from multiple smaller, flat pieces)
4. Towels
5. Fabric (bed sheet, pillowcase, etc.)
6. Sand paper
7. Printer paper
8. Construction paper
9. Plastic bags
Outside Surfaces (may not have angle)
1. Pavement/asphalt
2. Concrete/sidewalk
3. Brick
4. Dirt
5. Grass
6. Mulch
7. Gravel
8. Outdoor mat
Lesson Plan and Procedures for Adults
1. Introduce the concept of friction. Demonstrate it by having the student(s) rub their hands back and forth quickly.
- Definition: Friction is a force that occurs when two surfaces rub against each other. It is an opposite direction force and creates heat as a product of the two surfaces coming into contact.
2. Ask the student(s) to describe what they felt as they were rubbing their hands together. The answer should be heat. Explain to them that friction causes and transfers heat, which is a form of energy.
3. Ask the student(s) what it means when there is more friction. The answer should be more heat and resistance. Then ask what it means when there is less friction. The answer should be less heat and resistance.
4. Talk about the types of friction. Conduct a mini experiment to demonstration how friction between our hands can be reduced with lubrication. Add lotion to your hands and then rub your hands together. Have them explain what happened.
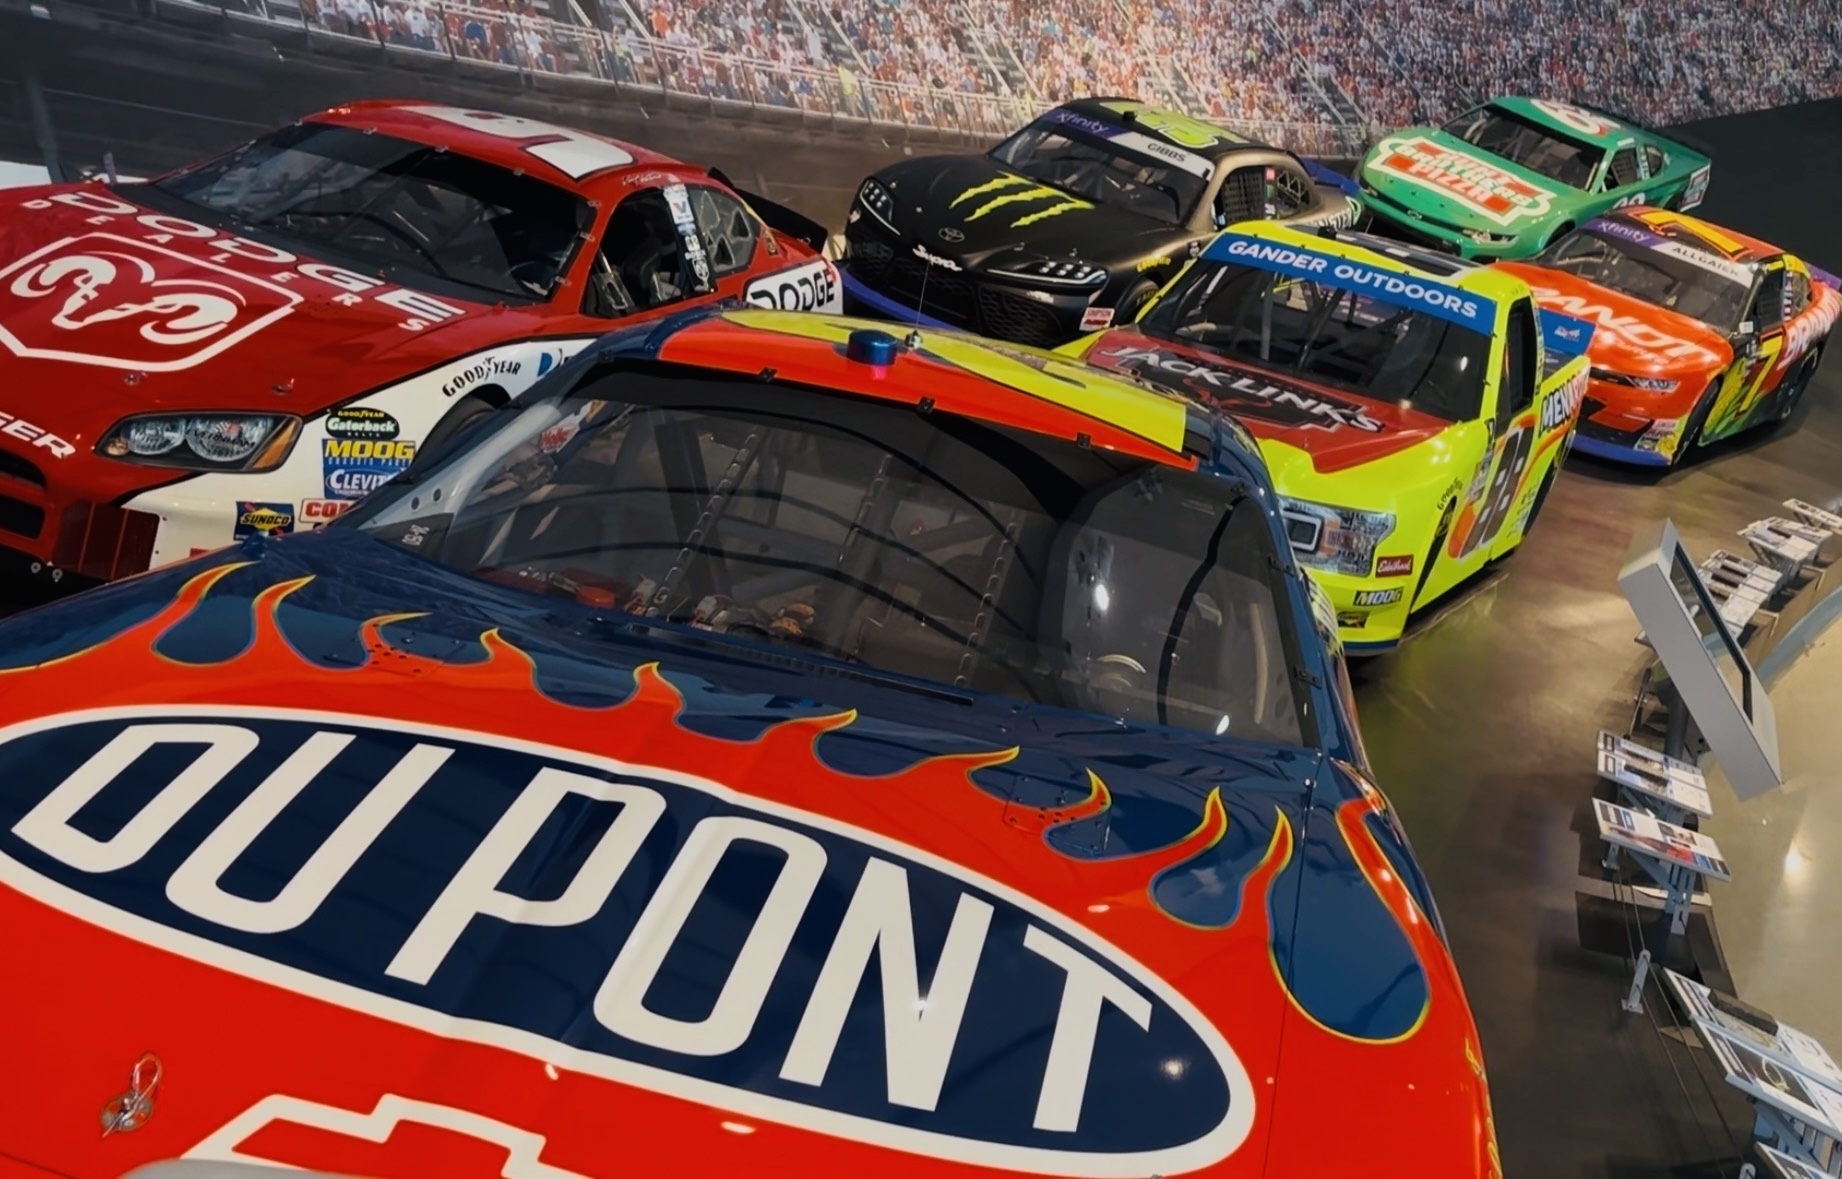
5. Have the student(s) brainstorm where they think friction happens in/on a race car and at the racetrack. Use photos or videos from the resources section to help.
- Examples include tires on the track surface, pistons/gears in the engine, brakes stopping the car, cars bumping into the wall or each other, pit gun on the lug nuts, jack against the car, adding gas to the car, air moving over the car, etc.
6. Have the student(s) share their responses and discuss these areas further:
a. Engine and oil/lubrication
- Friction is needed in the engine to create the energy that powers the car.
- The purpose of oil in the engine is to reduce friction by removing the heat from moving parts.
b. Brakes
- The brake pads press against the brake rotors to slow the car down. Share how brakes work with a demonstration of their own bike or use your hands to push against a brake rotor.
- The frequent repetition of this process wears out the rotors and the pads, making it harder to stop.
c. Tires, track surface and banking
- Show a picture of a racecar tire. Notice a race tire is different from a regular car tire and their bike tire (take them outside to show them the tires on a car, if needed.) There is no tread.
- Why does a car or a bike tire have tread? It provides grip and wicks away water during rain. Discuss what this means for racecars. Racecar tires have more grip as the tire is wider (more surface area for contact) and more friction in the beginning of a ‘run’ versus at the end when the tire is worn down.
- Have the student(s) discuss how racecar tires changes during a race, and how this affects friction. Watch the video clip on friction.
7. Explain that each of the racetracks in NASCAR have a different surface. The track surfaces are different in composition, shape, age and banking (angle of the track). Crew chiefs keep data on each race, track, tire and measurement to help them plan for the next race and how the car performs - including the tires.
8. Explore the concept of surfaces and friction by conducting an experiment testing different surface and their impact on a car moving. Add in how the angle of a track – or banking in NASCAR – can also have an impact.
Friction and Angle Experiment
1. Build a ramp using the suggested materials. Create different angles using the rungs of a chair and the seat: the higher the rung, the greater the angle created.
2. Select a ramp track base and place on the ramp. See materials for suggested bases.
- If you don’t have materials to build a tower, stairs can be used instead. The height of the tower will change during the experiment.
- If you are indoors, use a smooth floor surface if possible, such as linoleum, hardwood or laminate. If a smooth surface is unavailable, use a smooth surface to extend the track ramp (cardboard, plastic board, etc.)
3. Determine the angle of the ramp track by using one of the suggested devices. Write it on the worksheet/data recording sheet.
- If you do not have a device to measure the angle, measure the height of the ramp track.
4. Measure the weight of the car and write it down on the recording sheet.
- If you are unable to use a scale for the car alone, have the student(s) stand on a bathroom scale and note the weight. Then have them stand on the scale holding the car. Subtract the difference.
- You can also build a balance scale using a round object and a flat board (like a seesaw.) Place the car on one side. Use objects of known weight (cans of soup, food boxes, etc.) to best determine the weight of the car.
5. Conduct the first experiment using the selected base ramp track surface. Use the stopwatch to record how many seconds the car traveled before it stopped. Measure the distance the car travel from where it started to where it stopped. Write down the number of seconds and the distance traveled on the recording sheet.
6. Next, add some weight to car (use different household items like a can of tuna, bottle of spice or a bag of candy) and repeat step
- This exact same amount of weight will be used when the experiment is repeated using different surfaces.
- Look at different containers. Did you see how they all have weight on the front label? This is a great way to know how much something weighs.
7. Repeat steps 4 and 5 using another type of surface (see list of materials) that lays on top on the ramp track.
8. Continue to repeat steps 4 and 5 using different surfaces (4 or 5 total.)
9. After completing the experiment using 4 or 5 different surfaces, adjust the height of the ramp track.
10. Repeat steps 2, 4 and 5 using the same surfaces on the new ramp height.
The steps above can be replicated when conducting this experiment outside. The only thing that will change is the surface, which will be on the ground and not on the ramp track. This has a designated section on the recording sheet.
Suggested Resources
Watch our video about the Force of Friction:
What is friction and its different types?
Definition: merriam-webster.com/friction
Video demonstration:
Questions? Contact the NASCAR Hall of Fame education team at education@nascarhall.com.